The check-in is the most important function of the system, and you should make yourself familiar with every aspect of this process. The Check In function is used to receive customer garments, make an invoice, print the invoice, and tag them. Follow the steps below to process Check-In.
Step 1. Logon to http://pos.cleantie.com/ , Enter your email and password to sign-in.
Step 2: To get started, you must open the cash drawer. Click on the register icon to open the cash drawer. Enter till float. You may set the default till float in admin, under system configuration. If no cash drawer is connected, enter $0.00 to bypass this.
Step 3: Press the back-to-home-page icon when you are done entering till float.
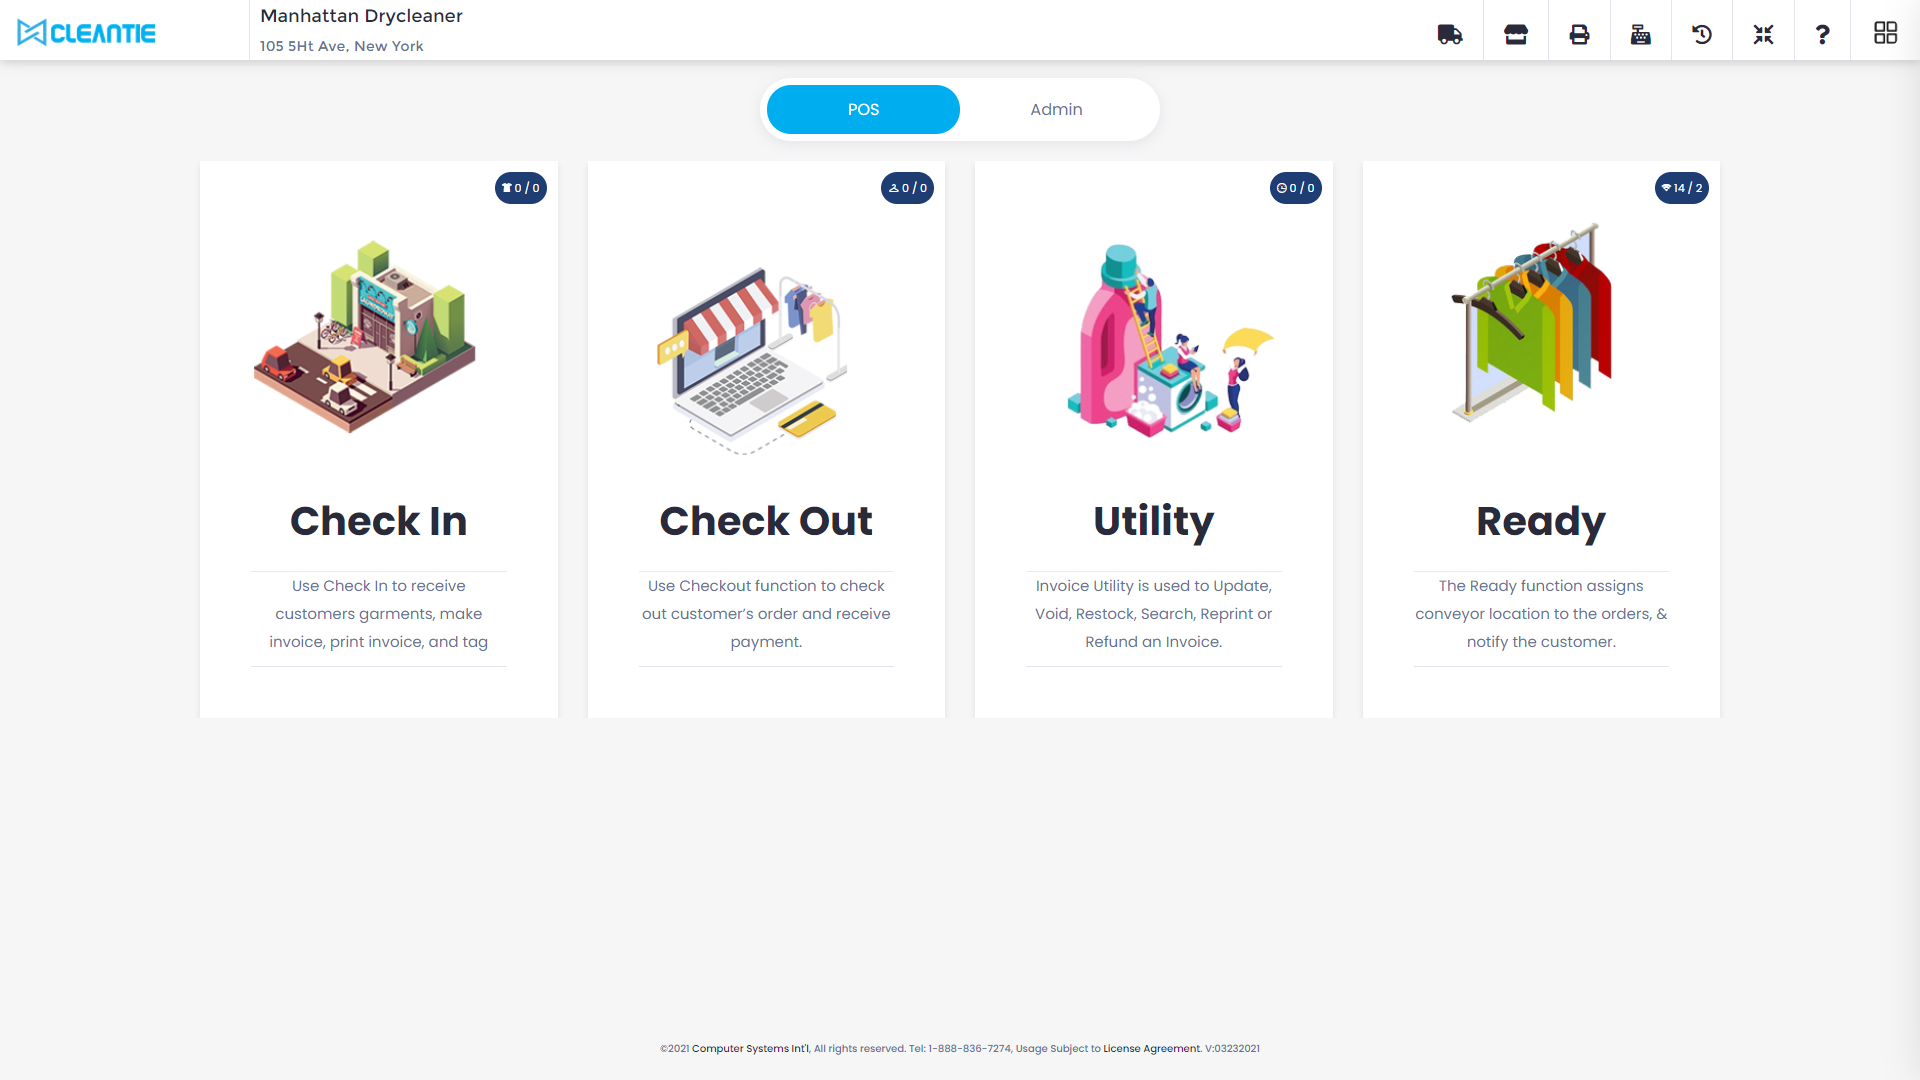
Step 4: Select Check-in to get started.
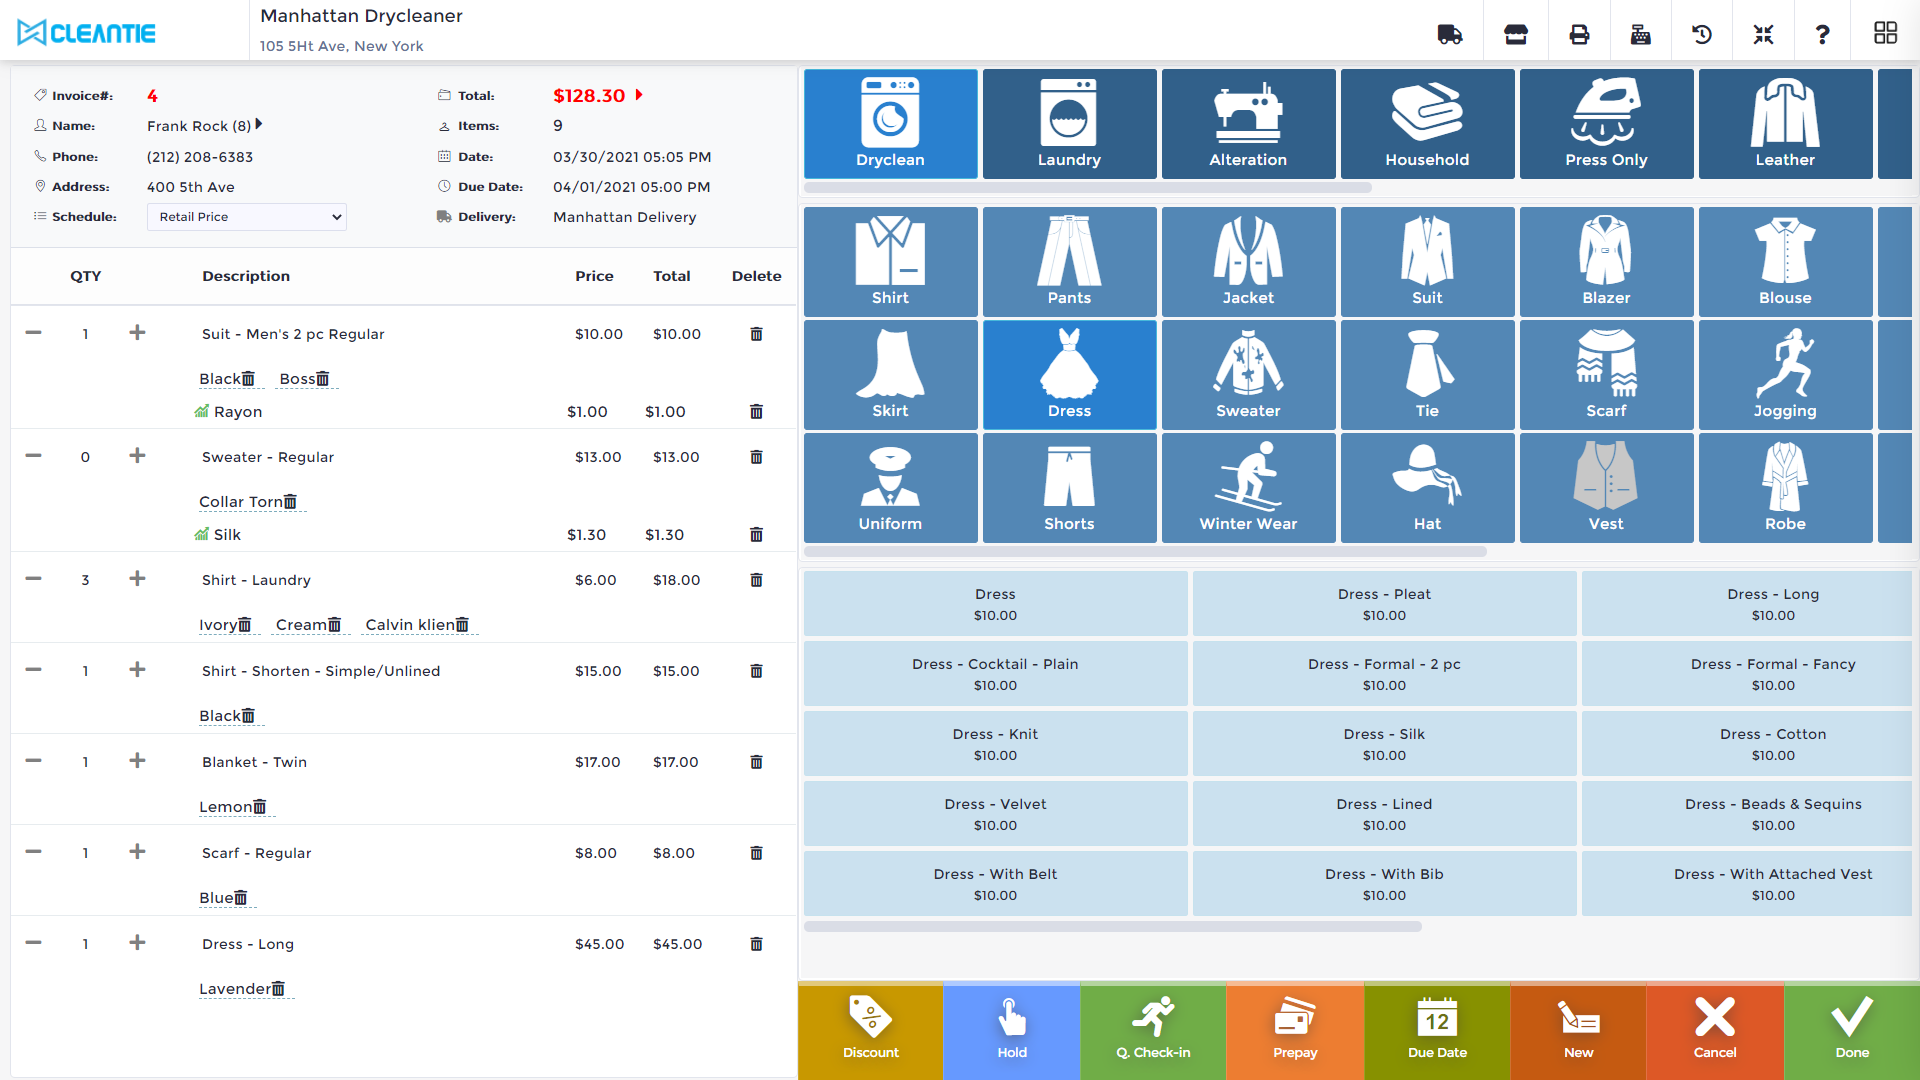
Step 5: Enter the customer's last name, phone number, or email to locate the customer.
Step 6: Select the Search icon to search by customer number or first name. You may select the recall icon to recall previous customers that were served. The default customer’s price list is shown at the top of the screen. Click on the arrow sign to select a different price list schedule.
Step 7: Click on a customer's name to go to the customer’s profile and view or make changes.
Step 8: Select the desired service. Scroll to the right to see more services.
Step 9: Select the desired department. Scroll right to see more departments.
Step 10: Select the specific item with the proper price and option.
Step 11: Select color, brand, stain, damage, upcharge, or release form. Select the memo option to make notes.
Step 12: Press quantity to add more items.
Step 13. When doing an alteration to the same item, select the Same Item option to change the quantity to 0.
The item detail screen is used to capture additional information for the garment. The item detail screen could be disabled in order to speed up the process. Again, select color, brand, stain, damage, upcharge, release form, or add a memo to the item.
Step 14. Press quantity to add more items. Please note, the Item Detail screen can be disabled to speed up the check-in process or could be customized based on your business requirements.
For additional information please watch our price list setup.
Step 15: To make notes, select "memo," then type your own memo. You may click on the arrow key to select a pre-typed memo from the list, then press Apply Memo.
Step 16: Select the plus or minus sign to change the quantity.
Step 17: Press "Item" to change price, quantity, description, option, or apply a discount by percentage or dollar value.
Step 18: Press the ''delete icon'' to delete the selected item or related options.
Step 19: Scroll right to see more services, departments, or items.
Step 20: When you have checked-in all the items, press "Done."
Step 21: Or select ''New'' to make a new invoice for the same customer.
Step 22: Press "Hold" to put the invoice on hold to serve another customer.
Step 23: Select "Quick Check-in" to make a quick invoice with no price. Please note that the quick invoice must be updated using the Invoice Utility to complete the process.
Step 24: Select the "Pre-pay" option in order to get paid in advance or collect a deposit. The default due date is automatically selected.
Step 25: Advise the customer if the selected due date is OK.
Step 26: If not, select a different due date and time, then press OK to finish the check-in process. If the pre-pay option was selected, the payment screen pops up.
Step 27: Select the proper payment type, then enter the amount and press OK.
Step 28: Please note that as soon as the order is complete, invoices and tags are printed. For additional information on how to configure your printers, please watch our printer setup video tutorial.
Comments
0 comments
Please sign in to leave a comment.